


GENERAL CONSIDERATIONS
The Department of Otolaryngology at the University of Iowa Hospitals and clinics is a proud collaborator with the NIDCD National Temporal Bone, Hearing & Balance Pathology Resource Registry. (National Institute on Deafness and other Communication Disorder).
Please note the significant contributions made by Dr. Saumil Merchant, Dr. Joseph Nadol, Nicole Pelletier, Tammi King and Diane Jones at the National Temporal Bone Resource Registry.
The Registry serves the public and the scientific community by providing the following resources and services:
- Dissemination of public information on temporal bone donation and research
- Enrollment of temporal bone donors
- Publication of "The Registry", a newsletter for researchers
- Conservation of existing human temporal bone collections
- Professional educational activities for physicians and scientists
- 24-hour nationwide network to collect temporal bones after a donor's death
ACTIVATION
- In most situations, the National Bone Registry will be notified by the donor family or local funeral home, who will in turn contact a member of the participating center.
- If you are in contact with the donor's family, or funeral home directly, it is important to contact the registry at the contact information noted below.
- The temporal bones should be removed as soon as possible.
- If the body is refrigerated or embalmed, temporal bone removal should take place within 12-24 hours. If not, withing eight hours if possible.
- Once a temporal bone harvest is activated, be sure to obtain the following information:
- Information on the donor
- Name
- Hearing status
- Etiology of hearing loss and relevant family history
- Years of profound deafness prior to implantation
- Audiogram
- Speech perception scores over time
- If the donor has had a cochlear implant
- Date of implantation
- These donations are particularly valuable to the registry and require a specific protocol as noted below.
- Time and cause of death
- Time of harvest will also be important
- Information regarding the local funeral home
- Point of contact, address, and telephone number
- The funeral home director is a valuable contact in this process.
- Plans for viewing times should be discussed
- These bones should be harvested as early as possible. It is necessary to schedule the earliest time possible for collection.
- Information on the family
- Point of contact regarding the donation, to discuss wishes of the family if has not already been coordinated by the furneral home director.
- It is important to discuss the wishes of the family prior to scheduling a harvest. Many times, the family does not understand the process of temporal bone harvest. The harvest can skillfully be performed following the protocol below and still allow for a viewing by the family of the donor in as little as a few hours. Many times the funeral director, or the family do not understand this process, and this information should be relayed.
- Point of contact regarding the donation, to discuss wishes of the family if has not already been coordinated by the furneral home director.
- Information on the donor
- Understanding the above, is important to respect the families wishes.
The National Temporal Bone Registry can be contacted at:
Nicole M. Pelletier
Coordinator
NIDCD National Temporal Bone Registry
243 Charles Street
Boston, MA 02114
Phone: 1-800-822-1327
617-573-3711
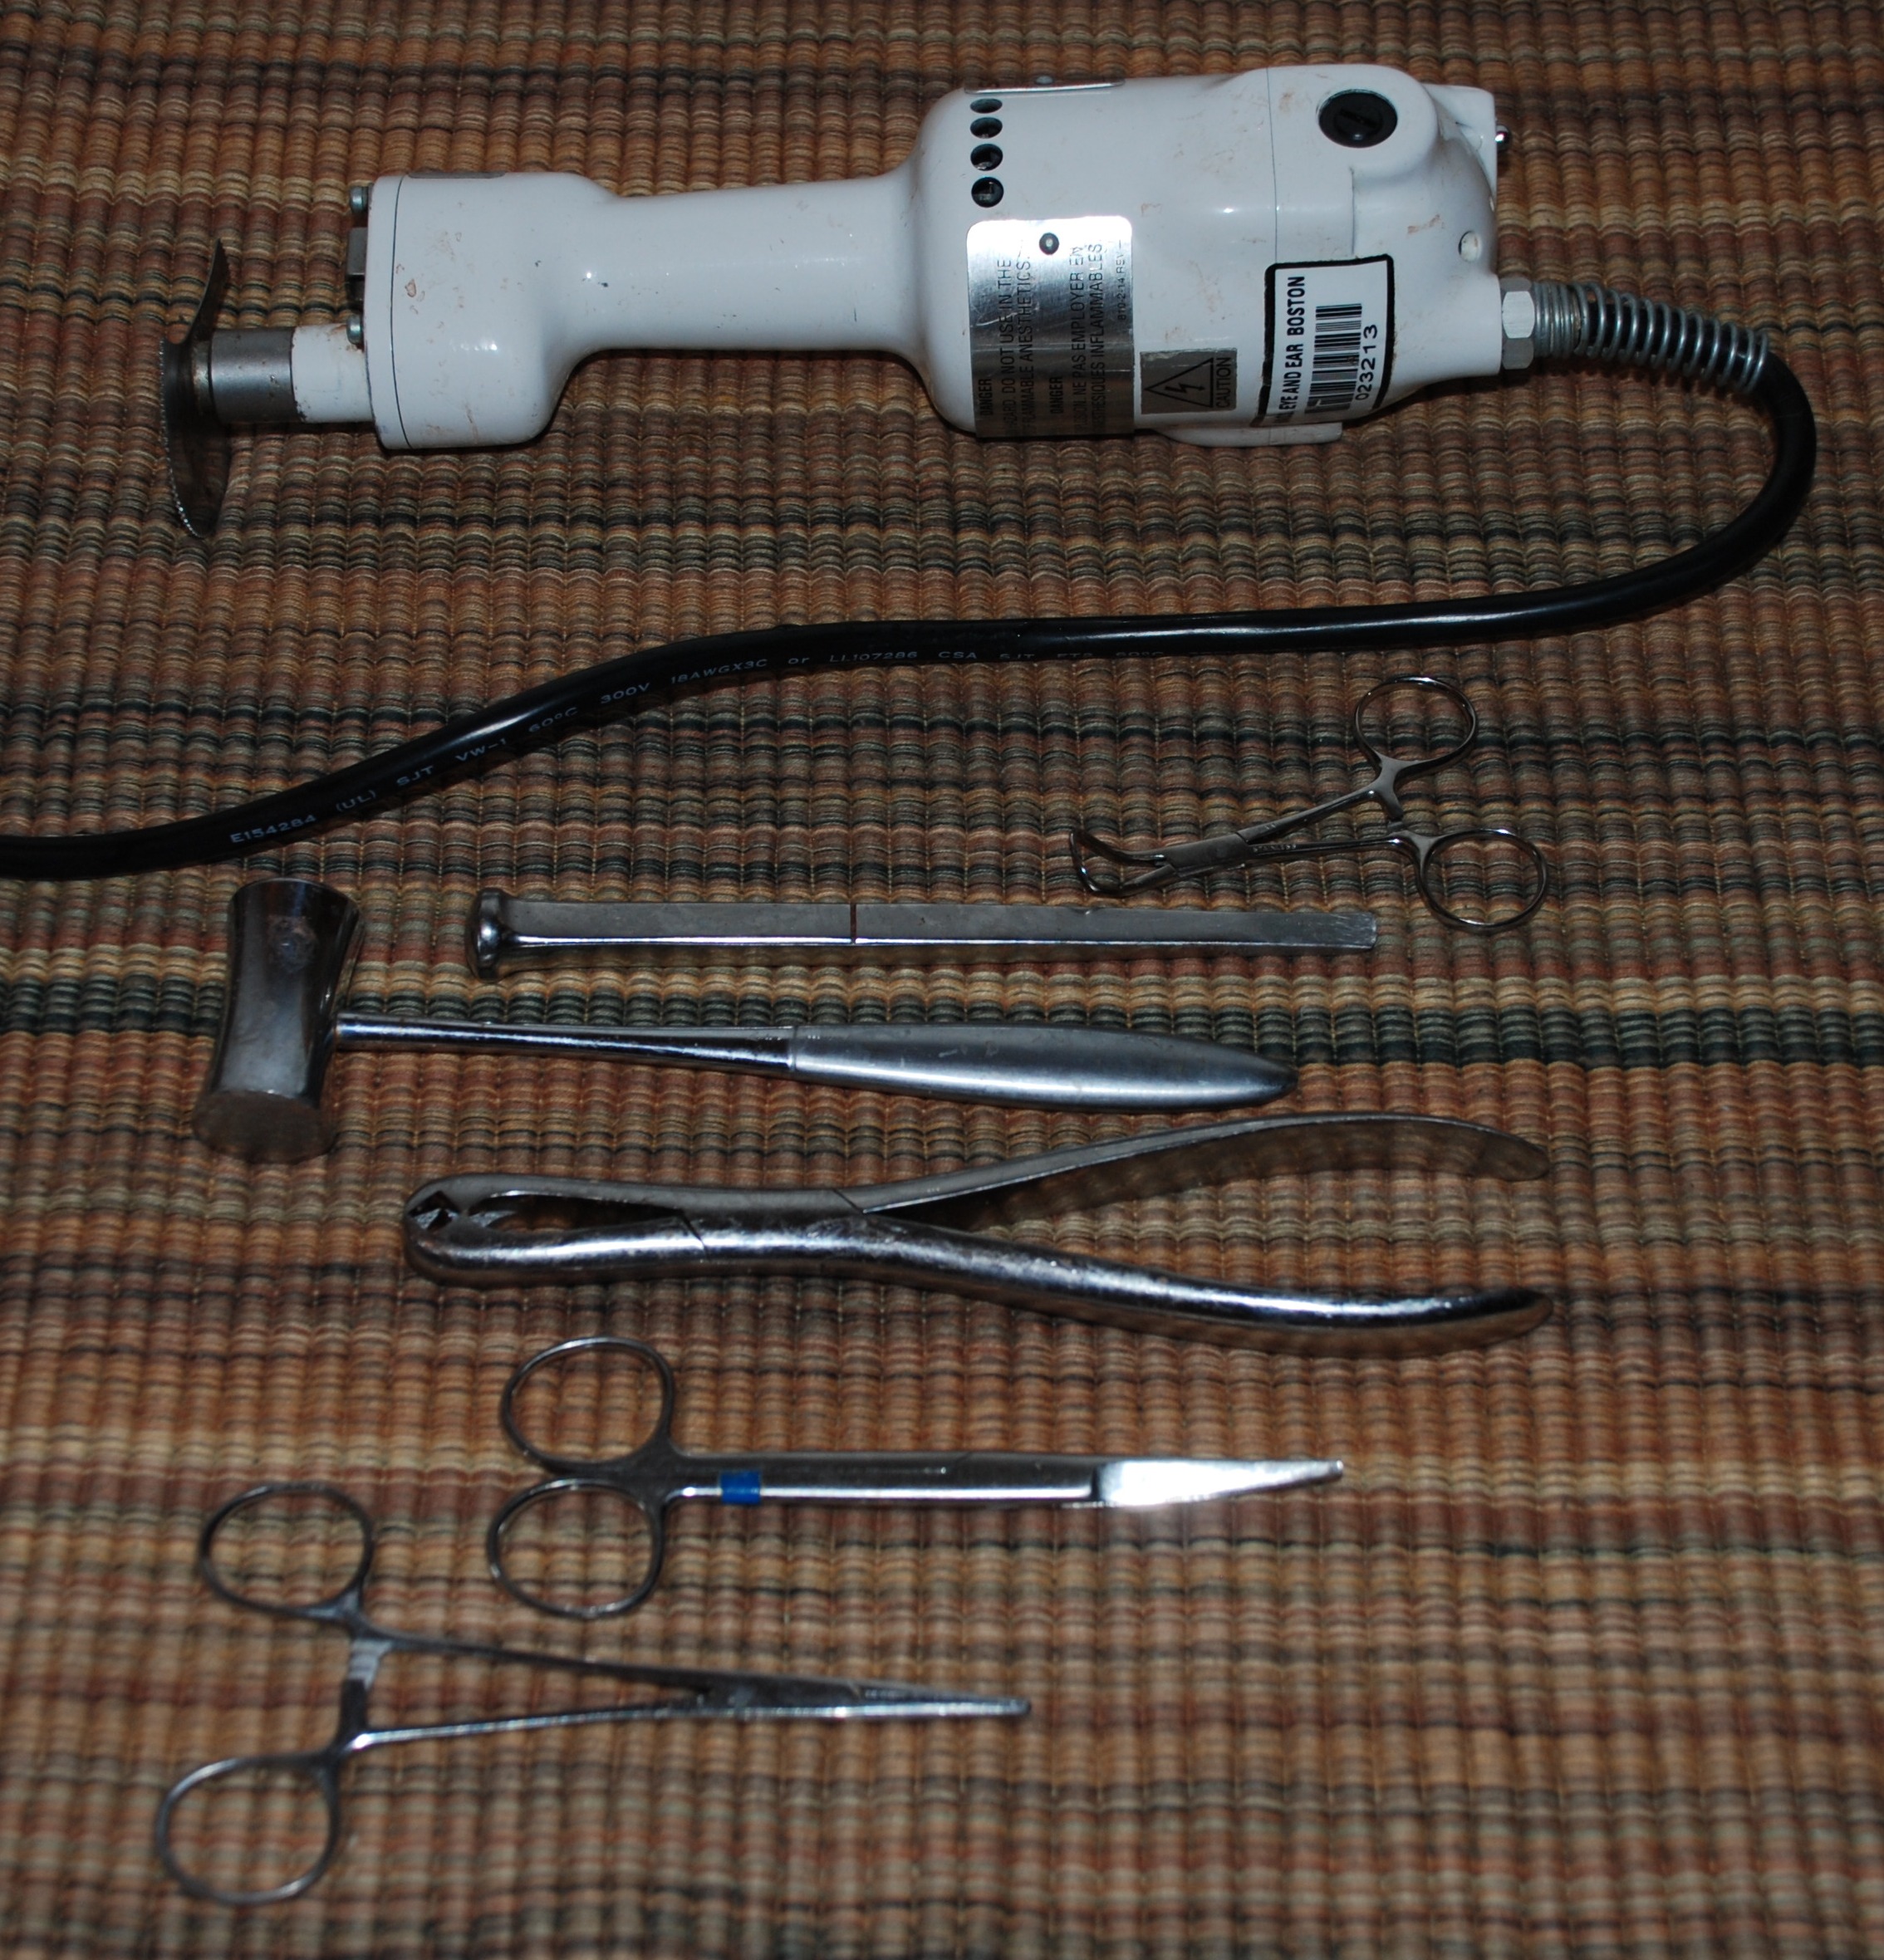
EQUIPMENT REQUIRED
- Having the correct equipment available and in working order is necessary for a successful temporal bone harvest. The following equipment has been collected for your harvest. If something is not present, broken, or used on your harvest, it is imperitive that you replace it.
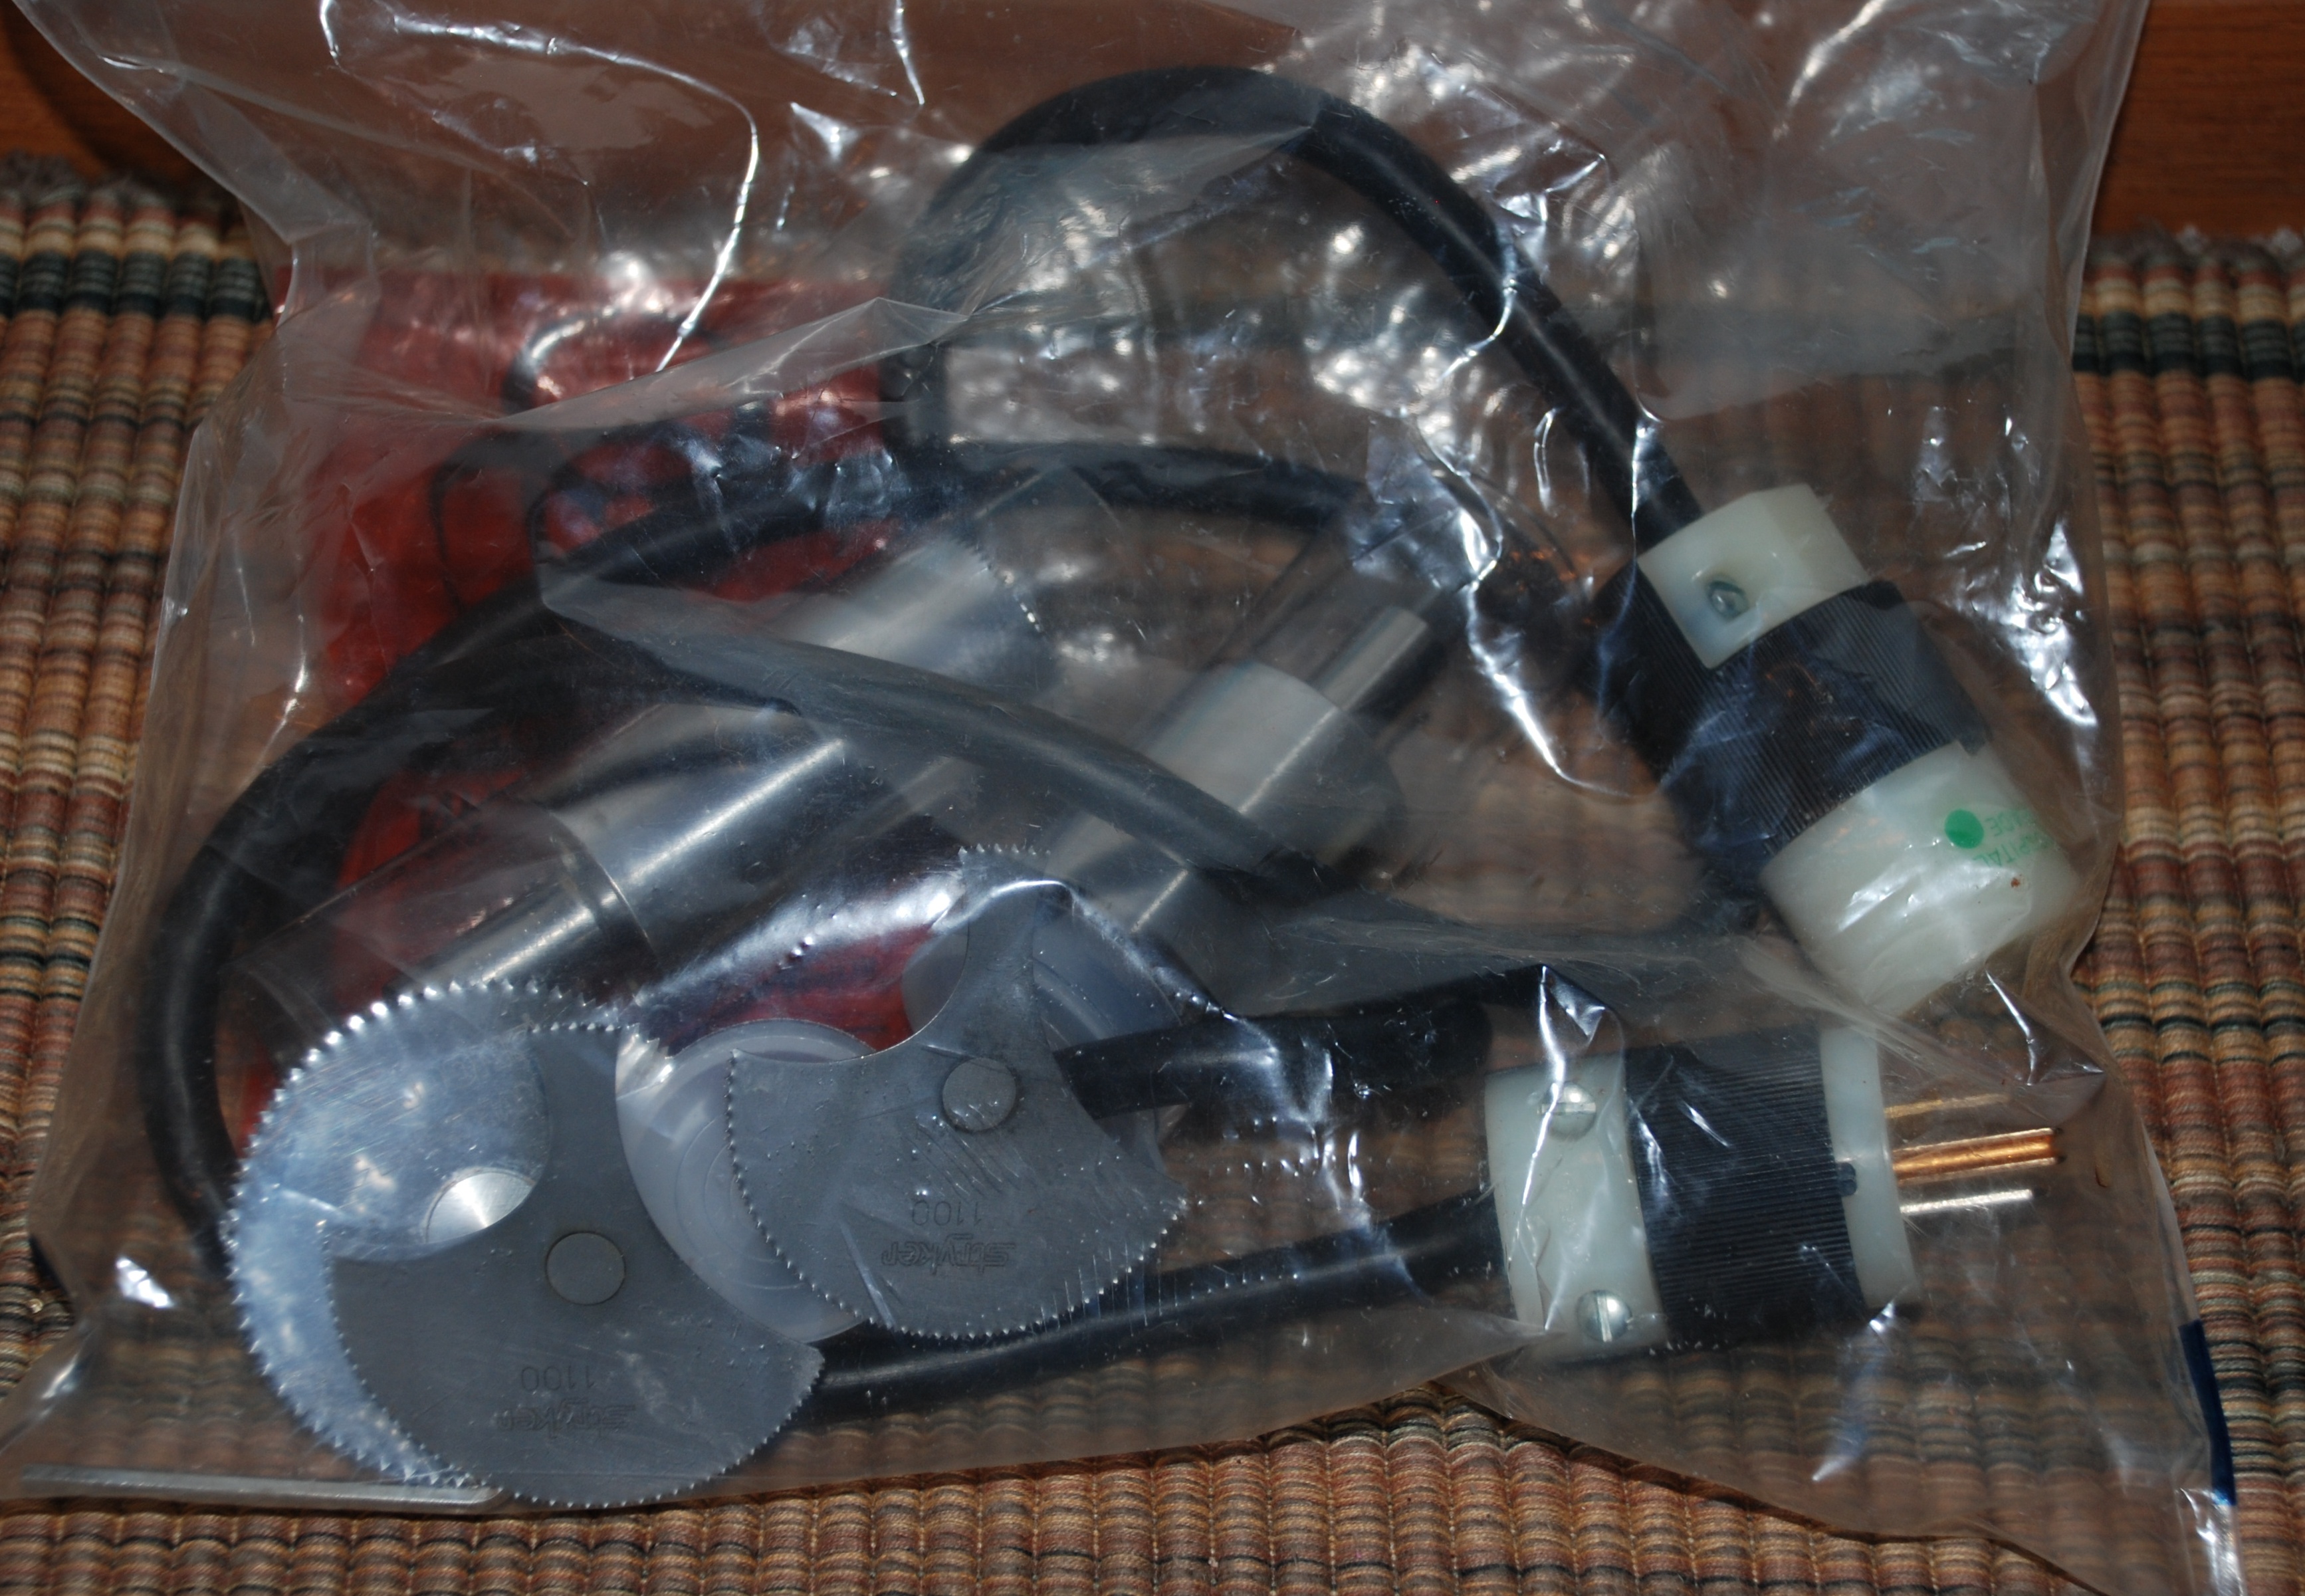
- The Brown Case
- Contains the oscillating bone saw. Several replacement blades, and hole drill bits are also included.
- There should be a dissection kit.
- This should contain a knife handle, a needle driver, scissors, Allis clamps, pick ups, a hemostat, and a towel clamp
- Plastic bag contains other equipment
- Ferguson Bone Holding Forceps
- Mallet and Osteotome
- Heavy scissors
- Kelly Clamp
- Towel clamp
- Protective gear
- Gown, gloves, eye protection, mask
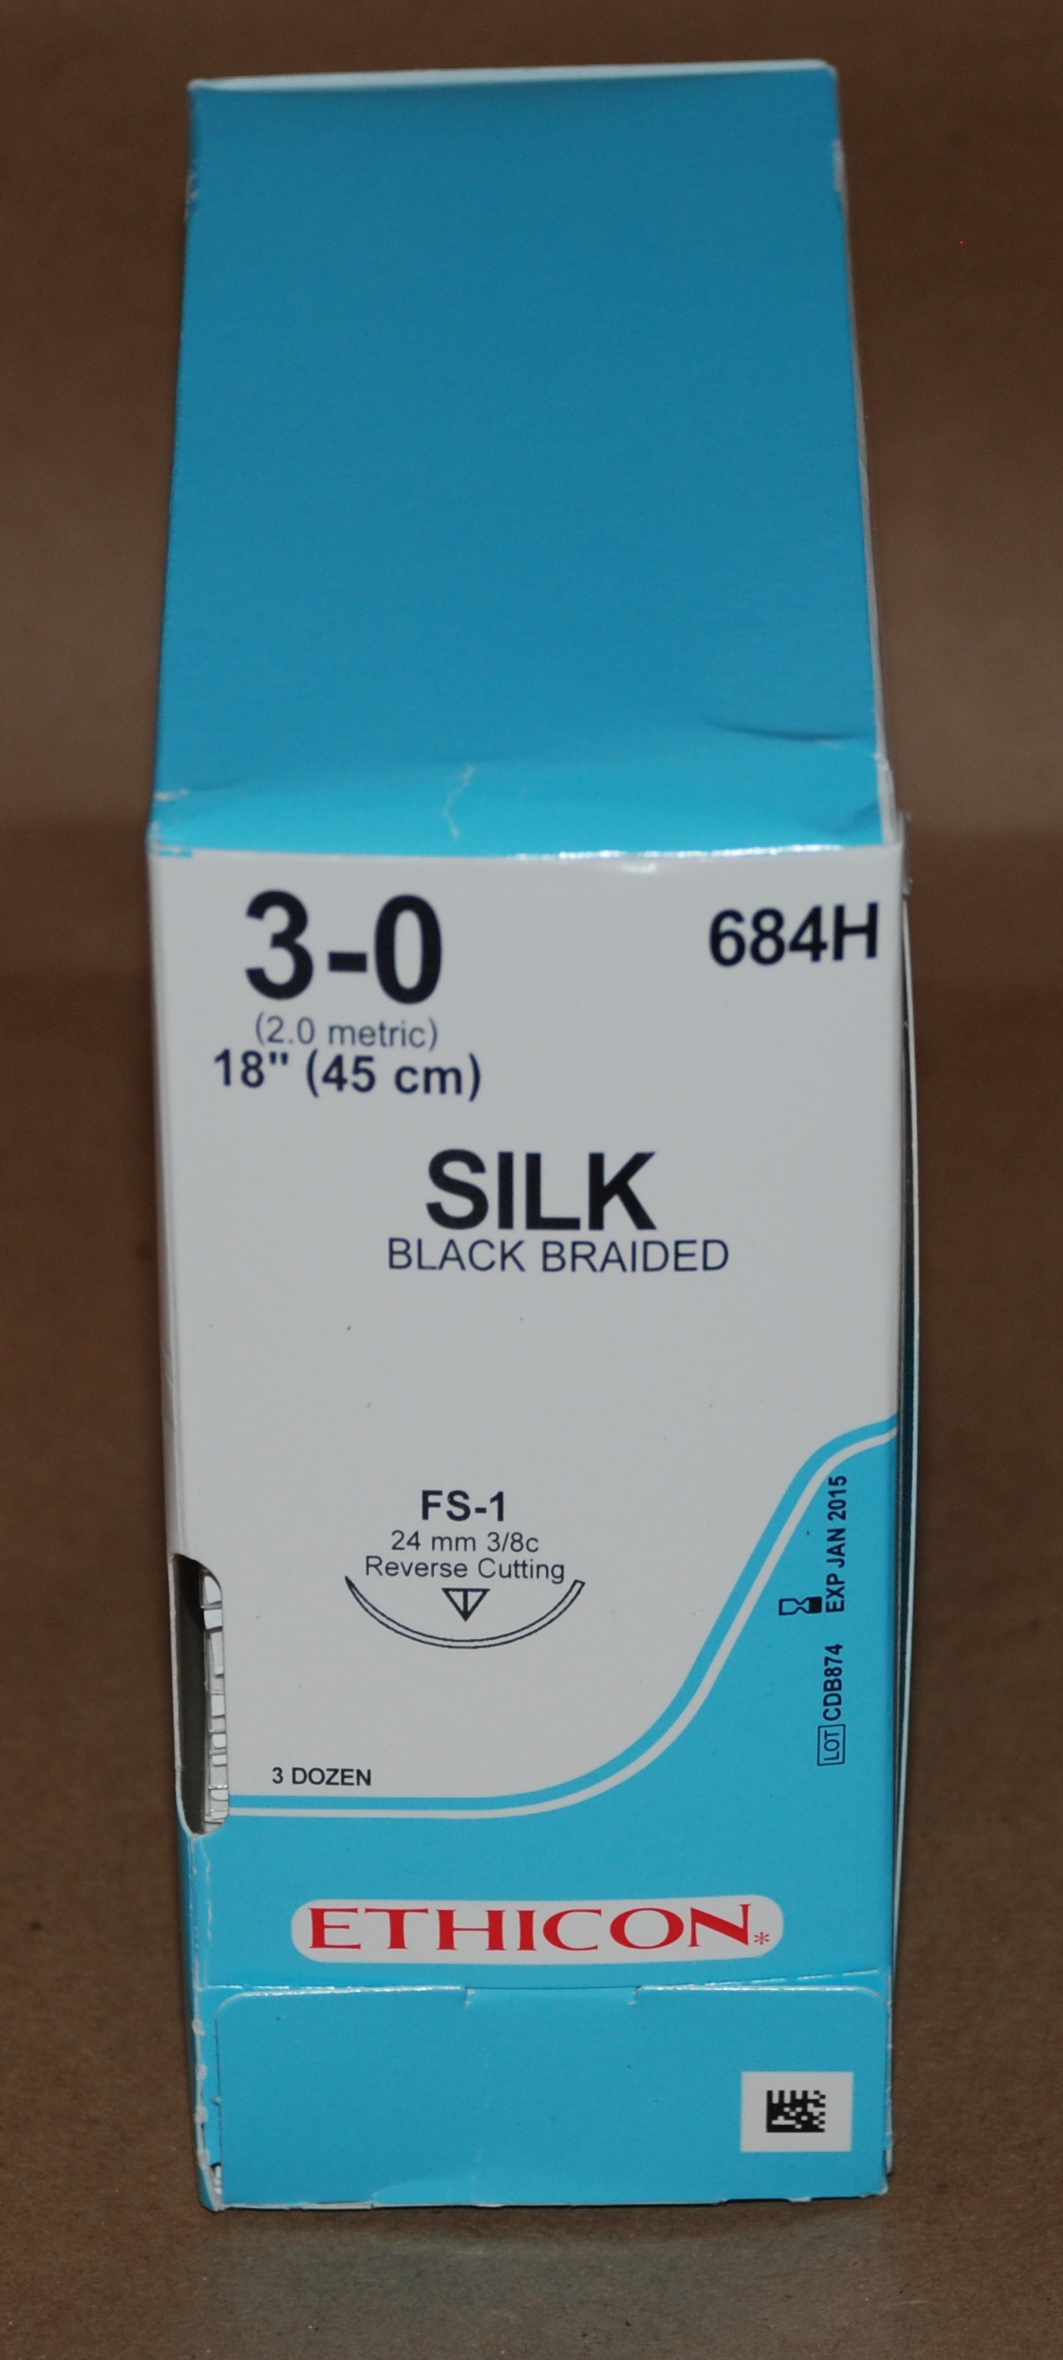
- Suture material
- Required for closure of the large coronal incision you will make.
- 3-0 suture on an FS-1 needle is adequate for this
- Heavy suture
- To tie off the carotid, and cartilaginous EAC
- Ferguson Bone Holding Forceps
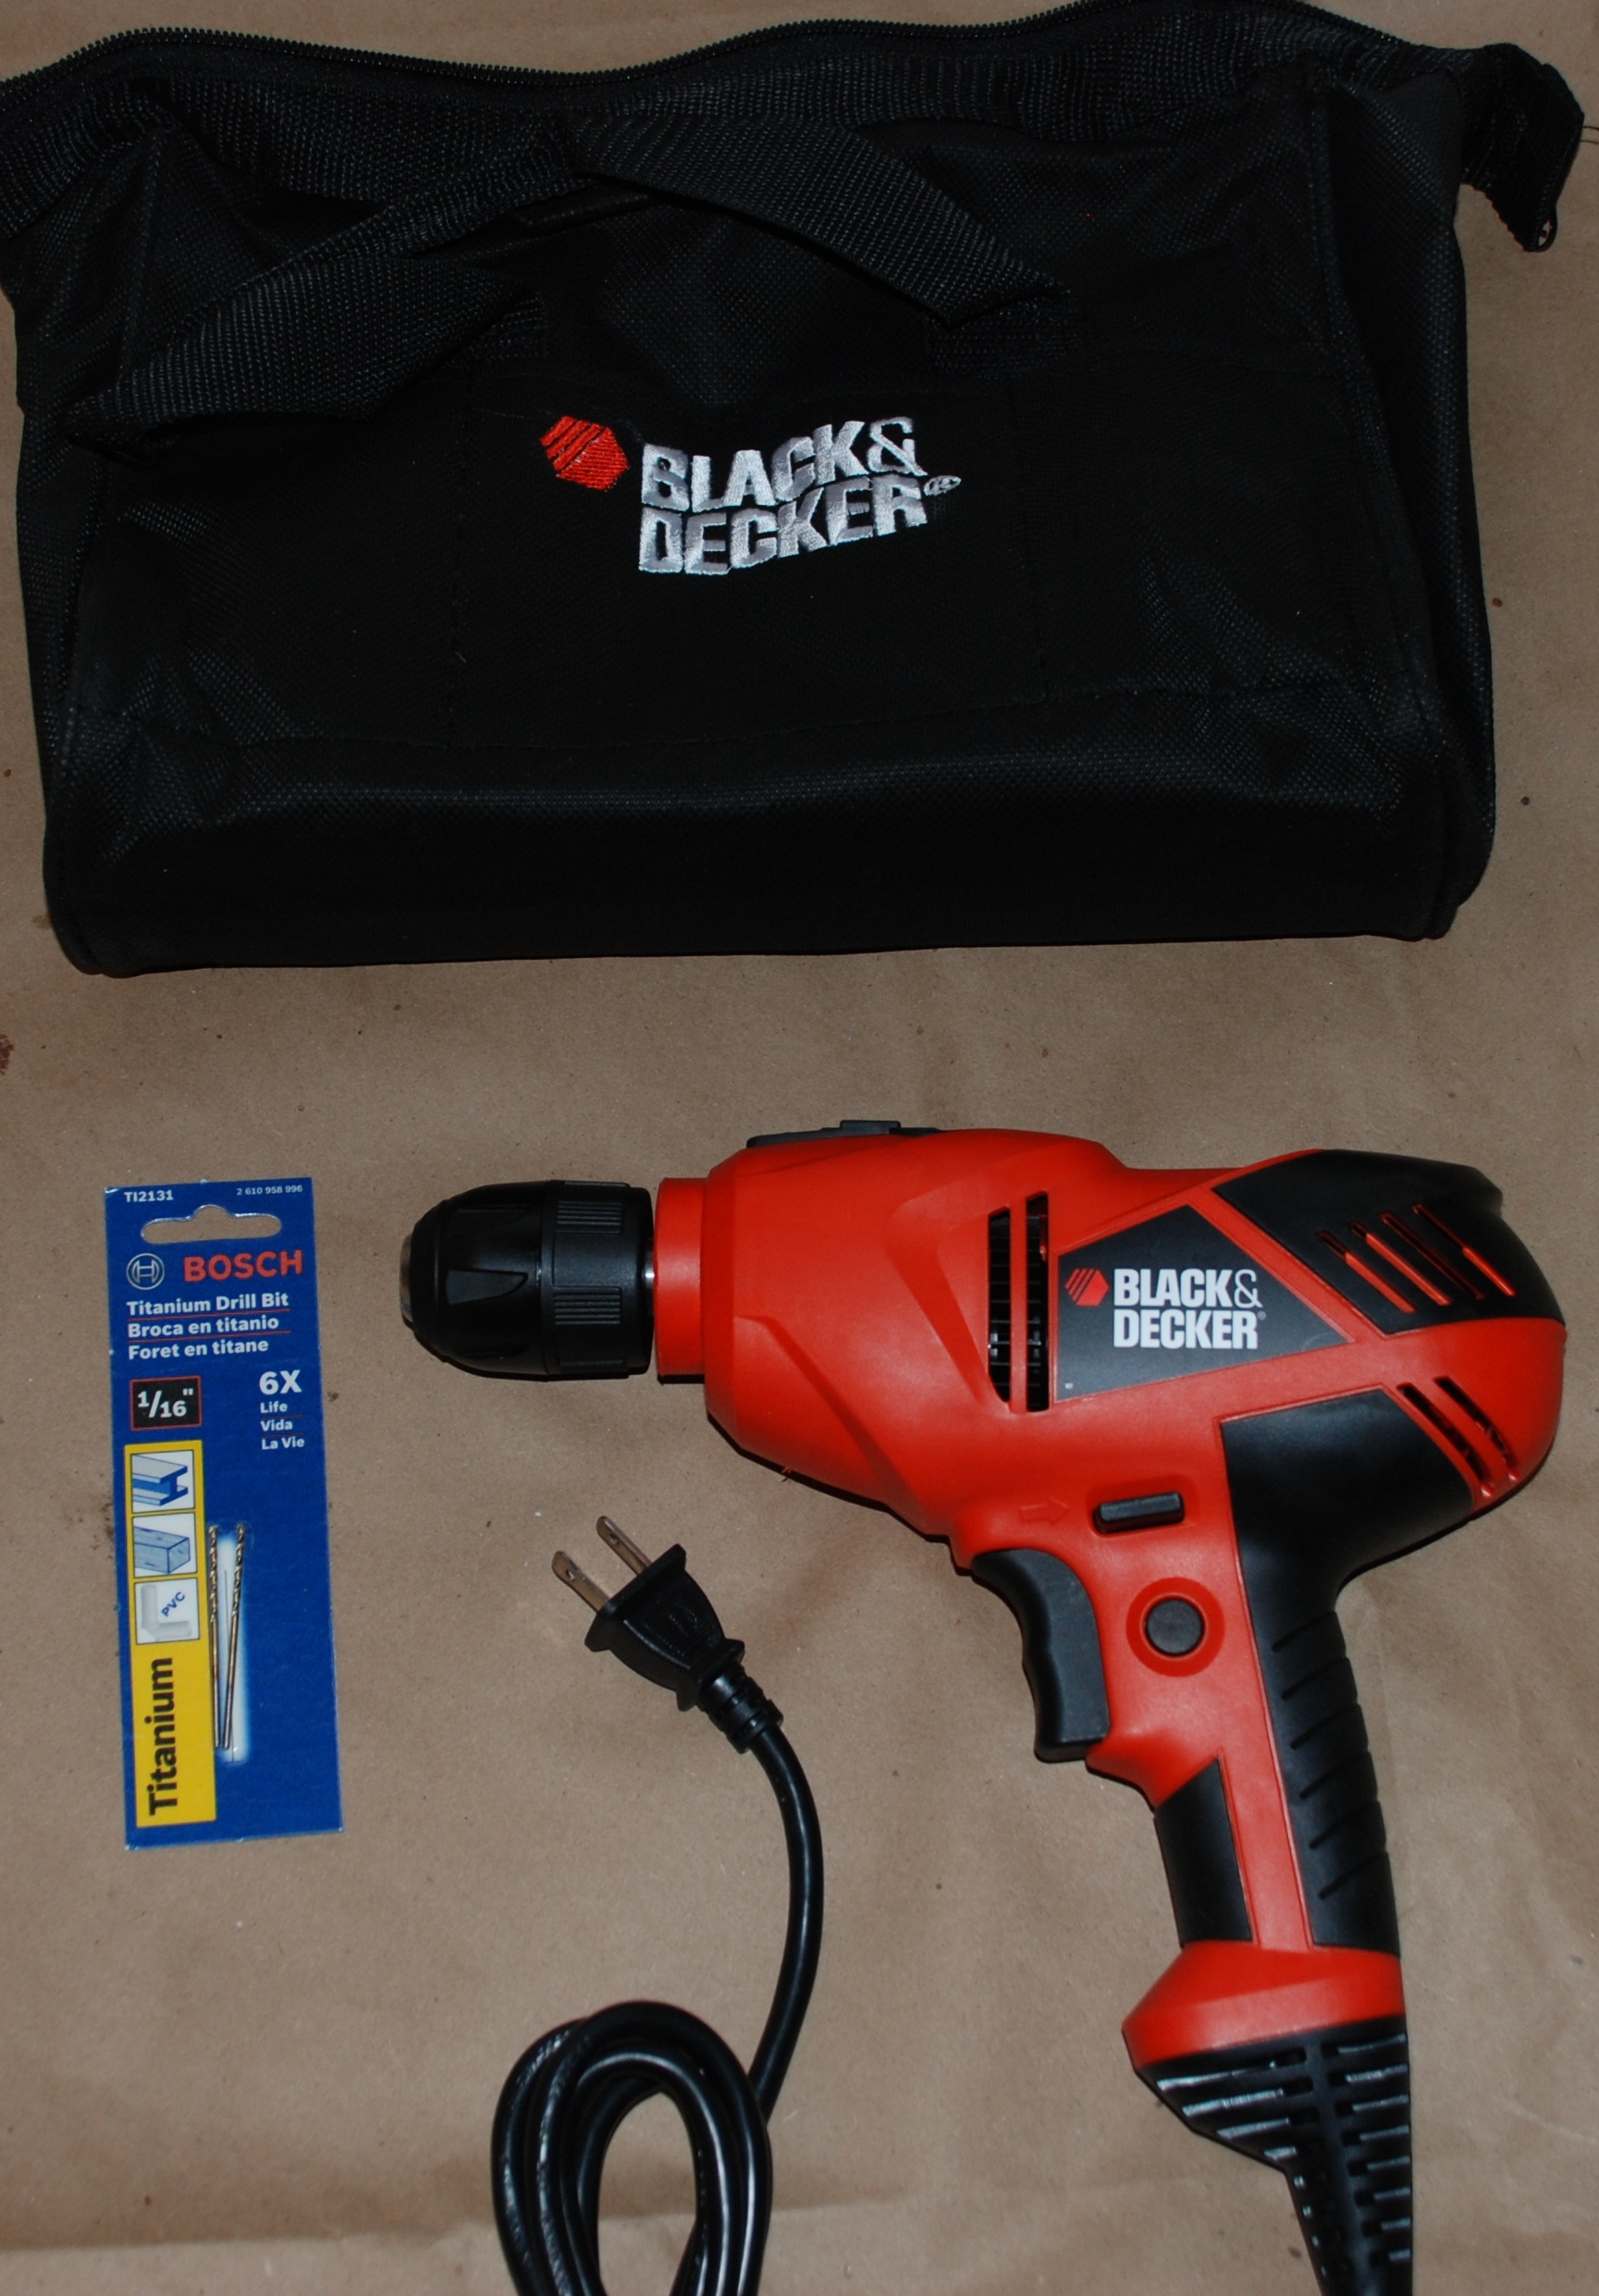
- Drill case
- Contains a corded chuckless power drill.
- Contains a 1/16 th drill bit. Use with caution. Replace if broken.
- 20 gauge wire
- Wire cutters
- Additional equipment needed
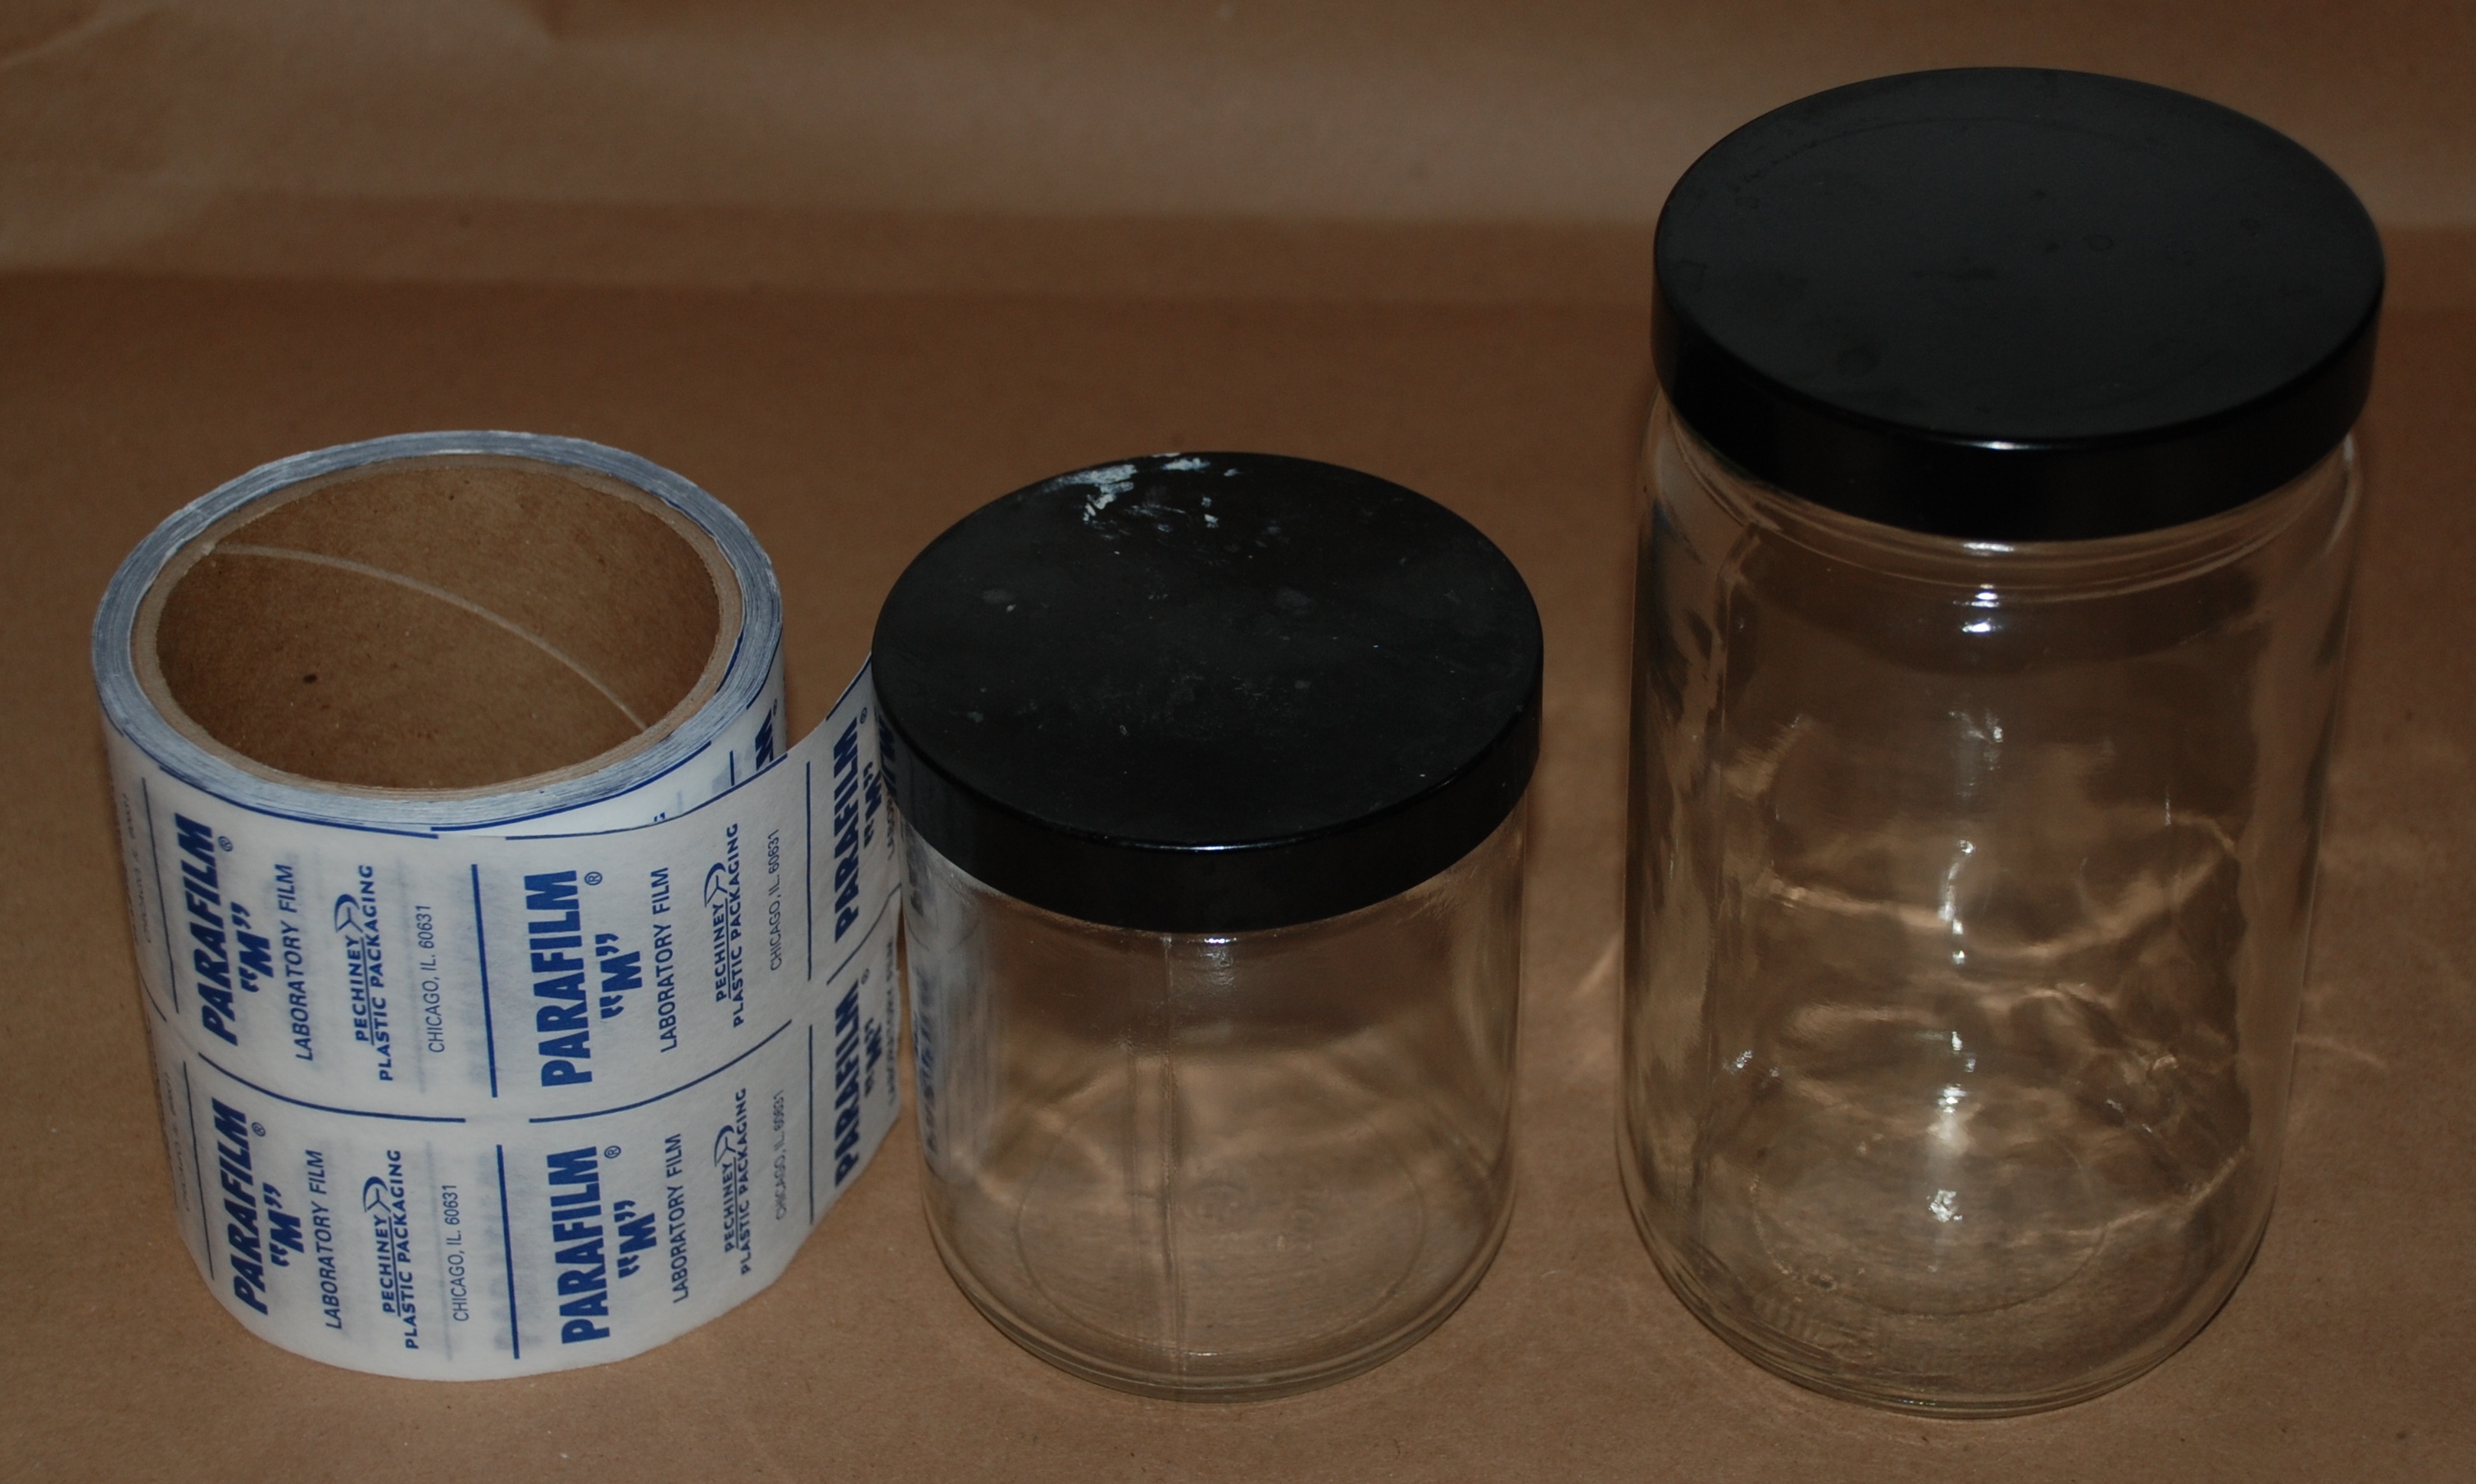
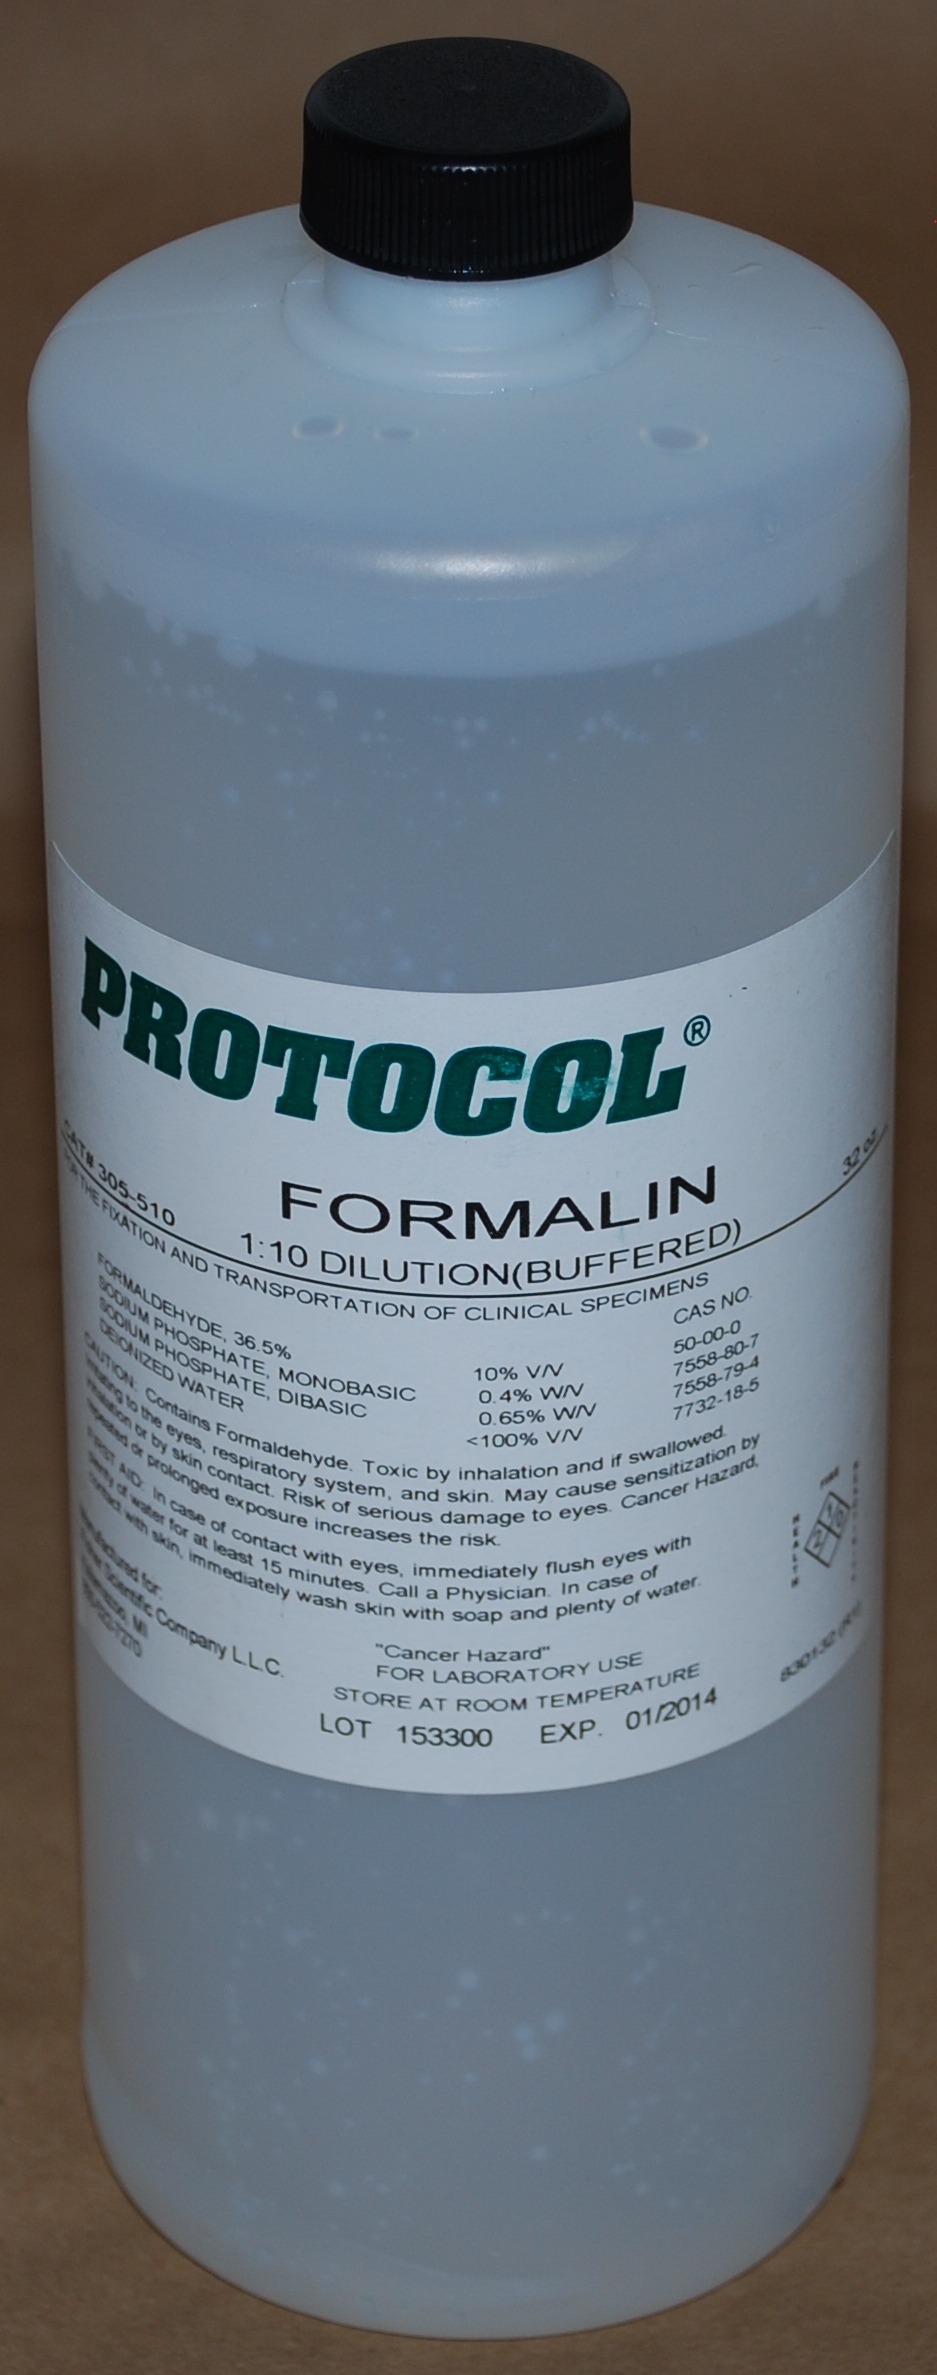
- 10% buffered formalin
- Specimen containers
- Parafilm to seal containers
- Bottle of 10% buffered formalin for the specimens, multiple specimen containers and parafilm.
- Note: Be VERY careful with the Formalin. It should be kept in a safety container (bag).
- Obtain the 10% Formalin from central stores at the time of harvest. You will never get the smell out if this spills.
- Note: Be VERY careful with the Formalin. It should be kept in a safety container (bag).
- The Brown Case
Equipment Images


http://research.meei.harvard.edu/otopathology/tbremoval.html
THE PROCEDURE
- Position the donor properly so that the vertex of their head is exposed
- This usually requires several blocks so that the donor is held into position.
- Define the area of your coronal incision. This should extend almost from ear to ear, and is generally more posterior than the conventional coronal incision, directly over the top.
- Take a generous portion of water at this time, and wet the hair, parting it at your incision line. This will prevent you from cutting and removing hair that will later cover the closure of your incision line.
- If the person is bald, adjust your incision line appropriately. It is important to discuss placement of the incision with the funeral home director. The incision should be made more posterior in this manner, so is not visible by the family.
- Make the incision with a #10 blade. Carry the incision down to calvarium.
- Raise your coronal flap anteriorly down to bone, advancing the scalp until you have exposed the frontal bone.
- Similary, raise your skin flap posteriorly.
- *If a cochlear implant was previously placed, the device should now be exposed.
- See Dr. Joseph Nadol's segment on cochlear implantation in the link below.
- EXTREME care should be taken at this point, and under NO circumstances should the oscillating saw come in contact with the electrode.
- Expose the electrode and cut it with sharp scissors medial to the proposed lateral block cut (preferably at the round window).
- It is our preference to leave the electrode array in place to be sent with the specimen.
- Plan your bone cuts at this time.
- The calvarium will be removed at this time. It is important to stair step the cuts in order to ensure:
- The anterior cut on the frontal bone should be high and off of the forehead. This should be in the hairline if at all possible to avoid any ridges from showing on the forehead at the time of closure. This is particularly important if there is to be a subsequent viewing.
- The side cuts should be just superior to the Tegmen. If the side cuts are too high, then the blade of the cutting saw will not be able to reach the temporal bone for final removal because of the neck of the saw.

- The temporalis muscle should be exposed at this point in time, following advancement of the coronal flaps.
- Make an incision through the fascia and muscle layers down to the level of the bone. Elevate the muscle to expose the proposed pathway of the skull cuts.
- Leave a lip of muscle and fascia superiorly to suture the temporalis muscle back together again upon closure. This will help tremendously in hiding any resultant defect, and aid in replacing the calvarium.
- Make an incision through the fascia and muscle layers down to the level of the bone. Elevate the muscle to expose the proposed pathway of the skull cuts.
- The calvarium will be removed at this time. It is important to stair step the cuts in order to ensure:
- Once your bone cuts are designed, use the drill with the 1/16th inch drill bit to drill holes in the skull both superior and inferior to the proposed line.
- Drilling the holes prior to making the cuts will help realign the calvarium once it is removed.
- Make the proposed bone cuts using the oscillating bone saw.
- Remove the skull cap.
- Carefully lift the brain upward, and using a #10 scapel, make an incision superior to the level of the optic chiasm to preserve the auditory brianstem structures. The cerebellum remains in place at this time.
- Evaluate the cranial nerves. It is very important at this time to use a #10 scalpel to incise them at their trunks, paying particular attention to cranial nerves number VII and VIII. They should be purposely cut at the entrance of the internal auditory canal. *This prevents traumatic avulsion that will ruin the specimen (special note: NIDCD).
- Carefully expose the distal brainstem, and using a #10 scalpel blade, severe the spinal cord just distal to the foramen magnum.
- *IT IS VERY CRUCIAL to maintain the attachment of the cerebellum. Careful dissection of the cerebellum off of the brainstem is required to preserve the cochlear nucleus, so it is best to submit the entire specimen (brainstem and cerebellum).
http://research.meei.harvard.edu/otopathology/tbremoval.html
- The bone cuts for removal of the temporal bones are then designed.
- The first cut is made laterally across the middle fossa floor just medial to the squamous portion of the temporal bone.
- The second cut is made parallel to the first and medial to the petrous tip into the basisphenoid and basiocciput.
- The third cut is made parallel and approximately 3.5 cm anterior to the petrous ridge (superior petrosal sinus).
- The fourth cut is made in the posterior fossa parallel to the petrous ridge, with the saw blade directed anteriorly to undercut the first three bony cuts.
- * A diagram of these cuts can be found in the suggested reading below.
Example of temporal bone removal using the block method, by the National Temporal Bone Registry. (Hit back button to return)
http://research.meei.harvard.edu/otopathology/tbremoval.html
- Once these cuts are performed, the bone clamps can be used to remove the temporal bone specimens.
- Use the hammer and chisel to help free any remaining attachments
- Rotating the temporal bone superiorly will help in exposure and removal of any soft tissue attachments inferiorly
- Place the specimens in formalin, and seal all containers with the parafilm.
- Do not tip these containers
- Refrigerate as soon as possible upon return
- Once the specimens are removed (two temporal bones labelled, cerebellum with brainstem), replace the brain.
- Cut 8 1 foot segments of the 20 gauge wire, and place them through the pre-drilled holes.
- Twist the wires together until the calvarium is then fastened on tightly.
- Use the wire cutters to clip the wires off, and tuck the wires into the sawed grooves.
- Use several sutures to reapproximate the temporal muscle. This will cover a good portion of your saw line, and help with reapproximation.
- Replace the coronal skin flaps. Place multiple deep sutures through the galea to reapproximate the scalp. Ensure that the hair is out of the suture line.
- Close the remaining superficial layer of skin. A running subcuticular stitch can be used to obtain good closure of the scalp.
POSTPROCEDURE CARE
- Ensure that you clean up the prep area.
- Dispose of your sharps, and pick up all of your waste.
- Ensure that you have packed up all of your equipment. They usually have some of their own equipment there, so it would be easy to leave things behind.
- Touch base with the funeral home director to ensure that the body is in a proper state for viewing. This will dispel any problems.
- Penny Harding is the contact for deliver of the specimen. She is located down adjacent to the temporal bone lab. Please refrigerate the specimens immediate in either the refrigerator located in the temporal bone lab itself, or in the refrigerator in room 10A.
- Notify Penny of the harvest.
REFERENCES
Nadol JB Jr et al. Techniques for human temporal bone removal: information for the scientific community. Otolaryngol Head Neck Surg.(1996)
Guidelines for Removal of Temporal Bones for Pathological Study A significant contribution from the National Temporal Bone Registry.
Additional instruction for removal of Temporal Bones with a diagram demonstrating removal of cochlear implants. A significant contribution from the National Temporal Bone Registry provided by Dr. Saumil Merchant.
A special thank you to Dr. Saumil Merchant, Dr. Joseph Nadol and Dr. Bruce Gantz for their valuable contributions of video, publications and direct consultation in the creation of this web page. Thank you to Marlan Hansen for his support in this collaboration.